How to de-clutter your work area:
When I was in college, I had a professor that was probably the messiest human being I ever met; his desk was covered in papers and trash, the floor of his office was littered with just as much, stacks of books were scattered around the 6’ x 6’ office. The bookshelves in his office were filled end to end with the most random things, too. He had file cabinets with folders of his students’ information, but he lost my folder 4 times in the two and a half years I had him as an advisor. How can someone lose a folder that only stays in one spot? I’m not sure how he did it, but he did. It was bad. (Note: he was disorganized but he was a good professor, super cool. He once gave me an A on the homework I didn’t do, just for my doodles.)
Now, I imagine that whoever is currently reading this isn’t nearly as bad as my old professor but getting some tips to de-clutter your office wouldn’t do any harm. Even if someone is just looking for small organizational tips or if someone is looking to revamp their whole setup, welcome to the right place. (or should I say The Office Place?) Please enjoy these tips and ideas we have compiled together just for you <3.
Tip 1: Start Fresh
Are you just overwhelmed with the amount of clutter in your workspace? Let’s start on a fresh, clean slate. Clear everything off your desk, and out of your drawers if you’d like. Once everything is cleared off or out, we’re taken to our next few tips.
Tip 2: The KISS Method
KISS stands for Keep It Simple, Stupid. I’m not calling anyone stupid, it’s something people, like my grandfather, say to emphasize that when things are complex there can be mess-ups and other issues and it’s easiest to keep things simpler. With this acronym in mind, try to move any items that aren’t necessary to your daily tasks. If you don’t need it or use it, set it aside so you can give it a new home later.

Tip 3: Make piles
If your desk is riddled with papers, folders, or anything really, try going through each item and sorting them by their purpose. Let’s say you have different projects or clients and papers for each. Separate your documents into piles corresponding with the project or person. You can go deeper into organizing what’s in these piles, but we’ll hold off on that for now. Once all your papers are separated, you could put everything in folders and into a filing cabinet, that way if you need something for a specific project, you can reach in and grab it rather than trying to remember where you last placed that one document. I like to color-coordinate and alphabetize my folders but that’s up to you 😉
Tip 4: Toss anything you don’t need
There’s no point in holding onto items you don’t need. Yet how do you determine what is necessary? Well, ask yourself “Is this for a project/client?” and “When was the last time I used this?”
If you answer “yes” to the first question, ask yourself the second and if your answer is either longer than 6 months ago or “I don’t know” then you probably don’t need it. Of course, there are special circumstances like when you’ve been working on something for a long time and you actually need to save every document or you know you’ll be circling back to that item relatively soon. However, if this item refers to something you completed a long time ago, toss it. This could be a first draft of something or a list of ideas for a project.
If you answered “no” to the first question, ask the second question. Consider the relevance of that item, its purpose, to help you decide if it is necessary to your daily work life.

Tip 5: Organizers
If your clutter isn’t just papers, maybe you’ll want to consider getting at least one desk organizer. This could be in-bound/out-going paper trays or it could be an organizer for pens and other small office supplies, however you are not limited to just those. If you frequently have meetings, a calendar can be a useful form of organization as well as sticky notes or paper notes board. The options are almost limitless. You can put notes and important dates on a dry erase board or cork board, but if you don’t have walls you can designate a small portion of your space to a desk calendar or you could get a planner to keep your notes and write down those important dates. If you’re following these tips step-by-step then you can use organizers for each of the piles you may have made.

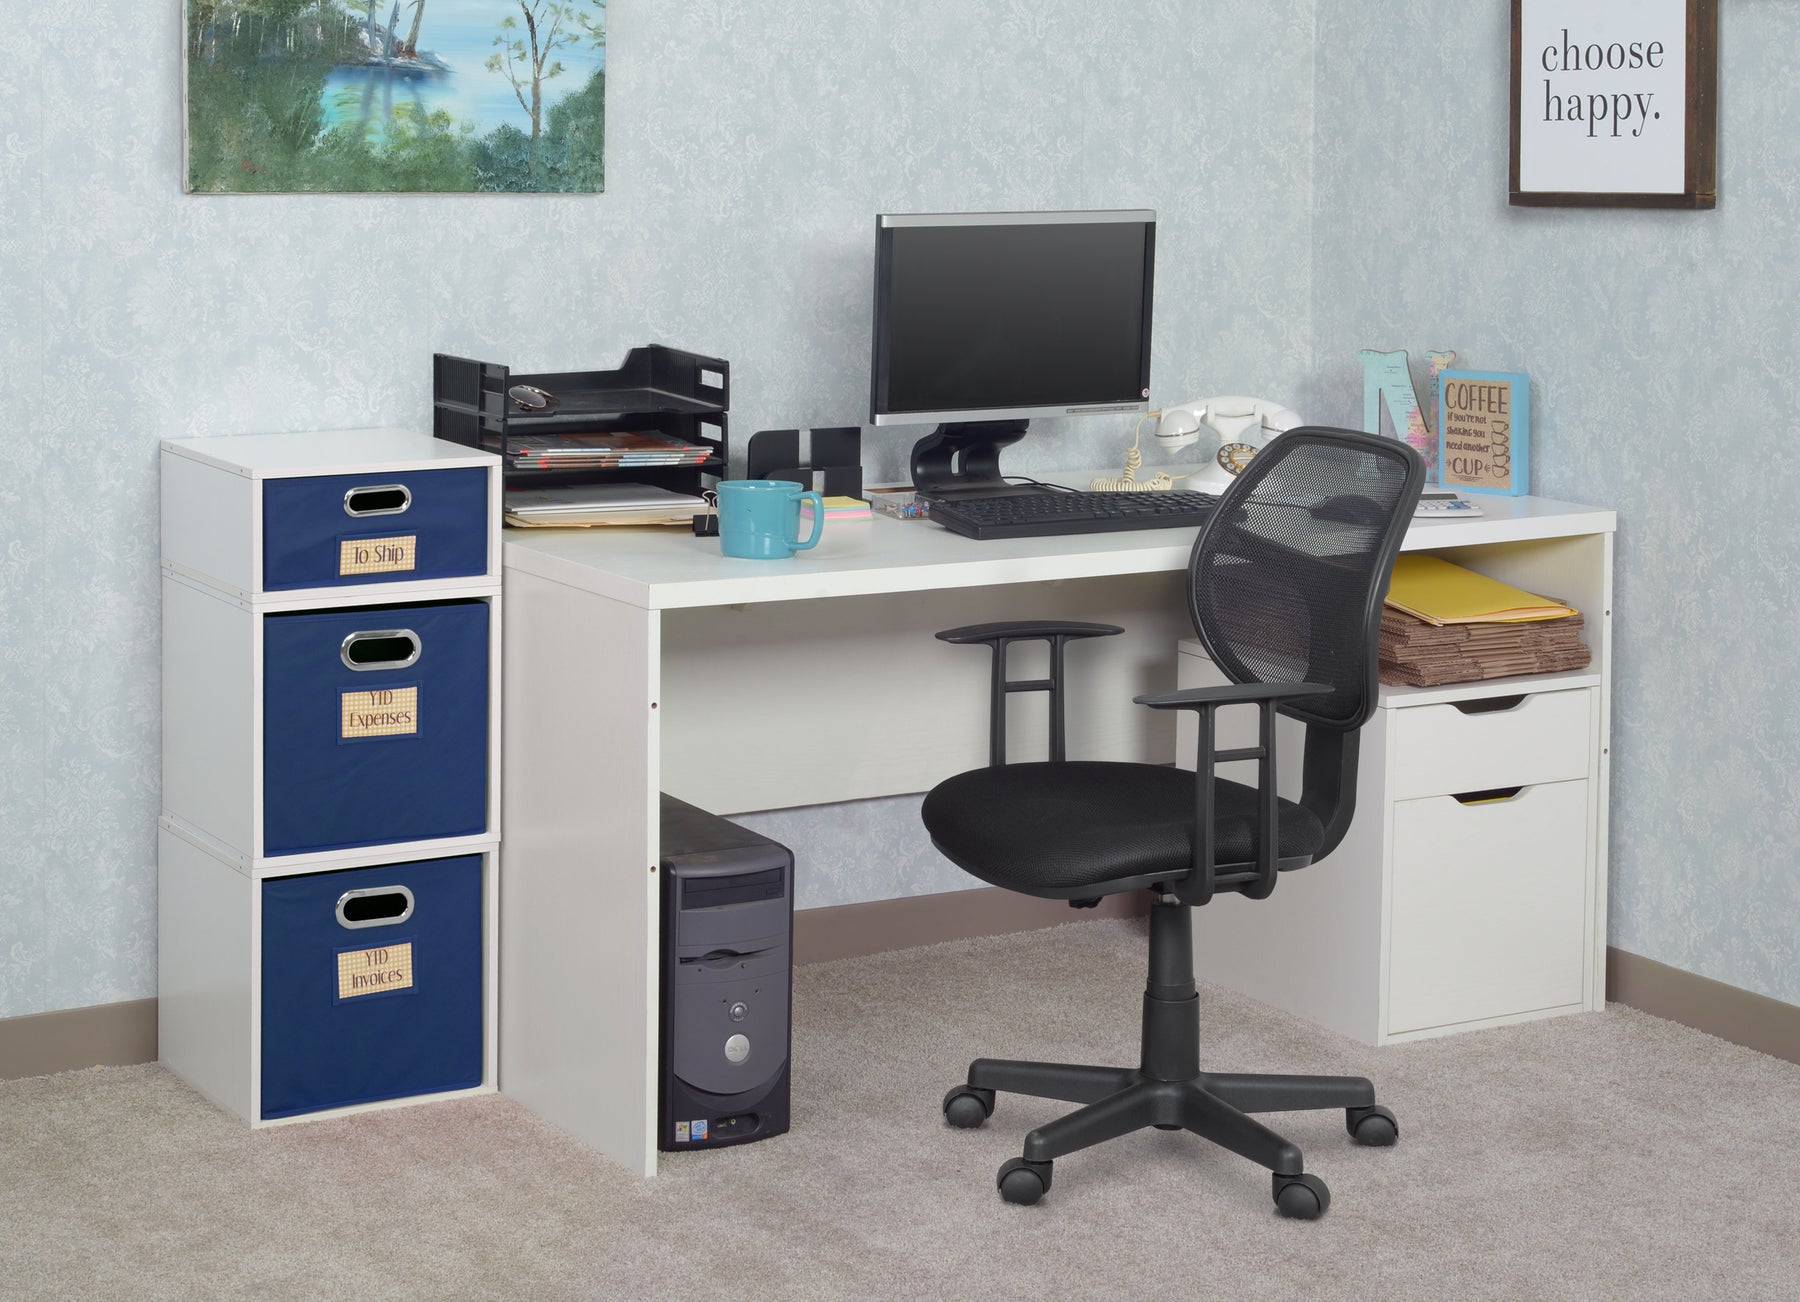
Tip 6: Storage Options
For items that are larger than paperclips or writing utensils, storage totes and storage units can be a nice option to explore. Totes with labels can help you separate priorities and items, referring to the piles you made. I use my square shelves and totes to sort art supplies; this keeps my cat from stealing paint brushes and keeps everything organized based on its purpose. I also put my figurines on top of the shelves, thus allowing more room on my desk.

You don’t have to follow these tips in any particular order, but one thing to keep in mind is that clutter can cloud your mind and make it hard to focus. De-cluttering your workspace can be beneficial to your workflow, not only with minimal distraction in front of you but also allows easier access to items you may be needing throughout a typical day. Also, please do not be like my professor; a dirty, disorganized office can tarnish your credibility. If you would like to see more organization tips, click: here.